Finalizing the terrain tiles: I tried different options, tested the options, and finally settled on this idea. I’ve already created a series of terrain tiles for the different MiniWorld sets, so I used those with some adjustments and added a grid. I then created a frame for the purpose of placing nine tiles together to form the terrain for one scenario of the game.
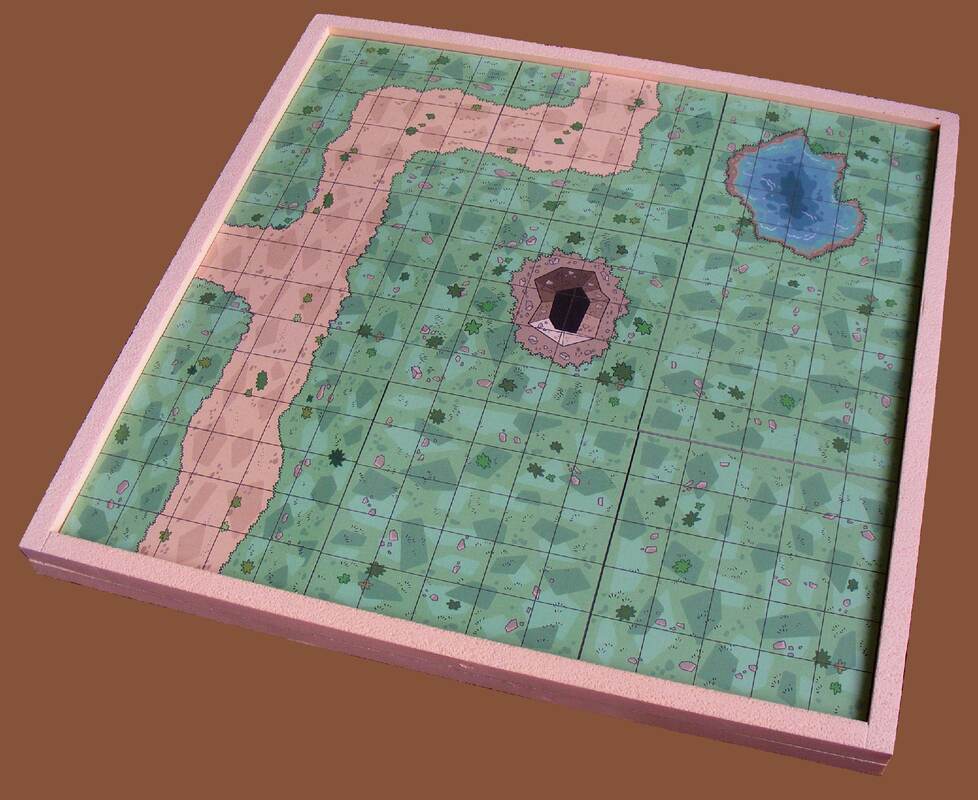
Each square terrain tile is 16.7 cm, which makes a square frame of about 60 cm for 9 tiles, a good size to fit on a table and to play. By changing the tiles around and using different tiles, it makes it easy to play different scenarios.
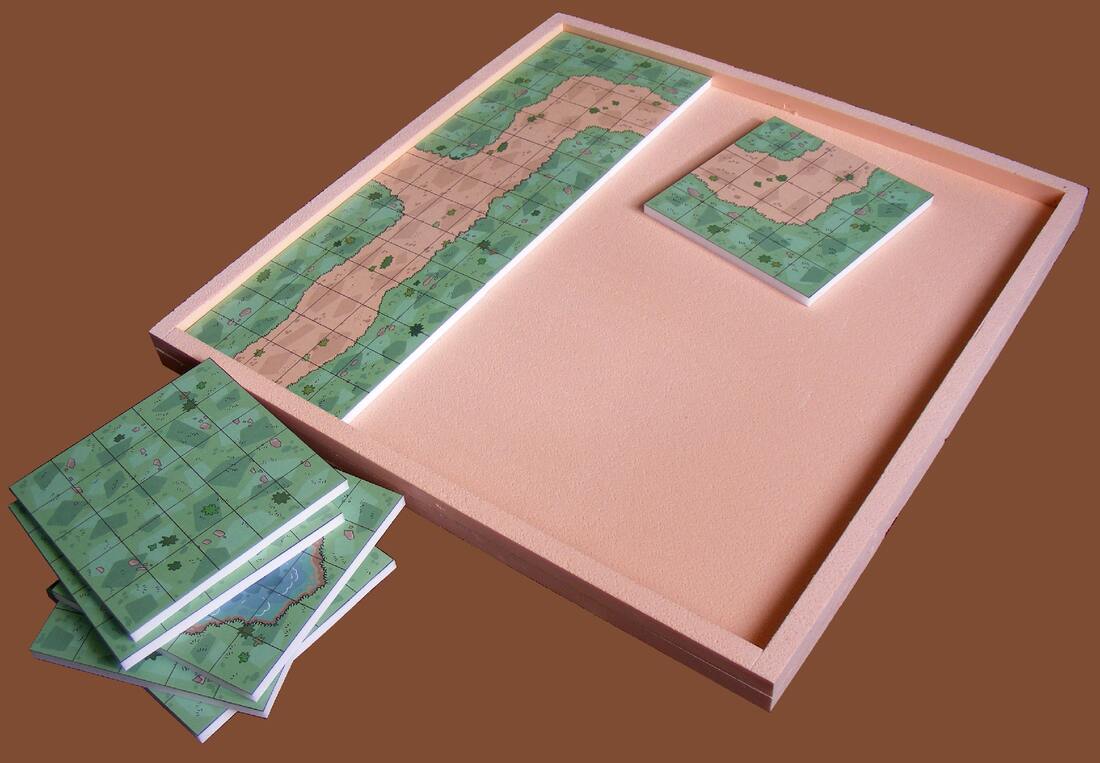
A second frame can be made to expand the terrain if more room is needed to explore or set out larger scenery pieces.
For this frame, I used a simple sheet of foam board insulation found in hardware stores for insulation of walls or ceilings. One big 2 cm thick sheet is quite inexpensive and perfect to build one frame – the frame itself and a piece of foam board added underneath for strength.
The frame can also be made with cardboard, wood, etc.; the main thing is to have something to hold the tiles together so they don’t move as you play.
 RSS Feed
