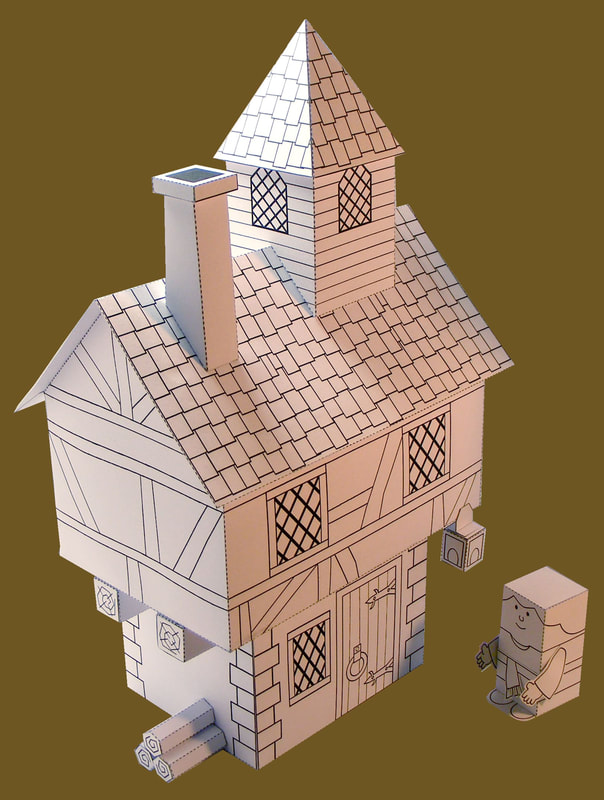
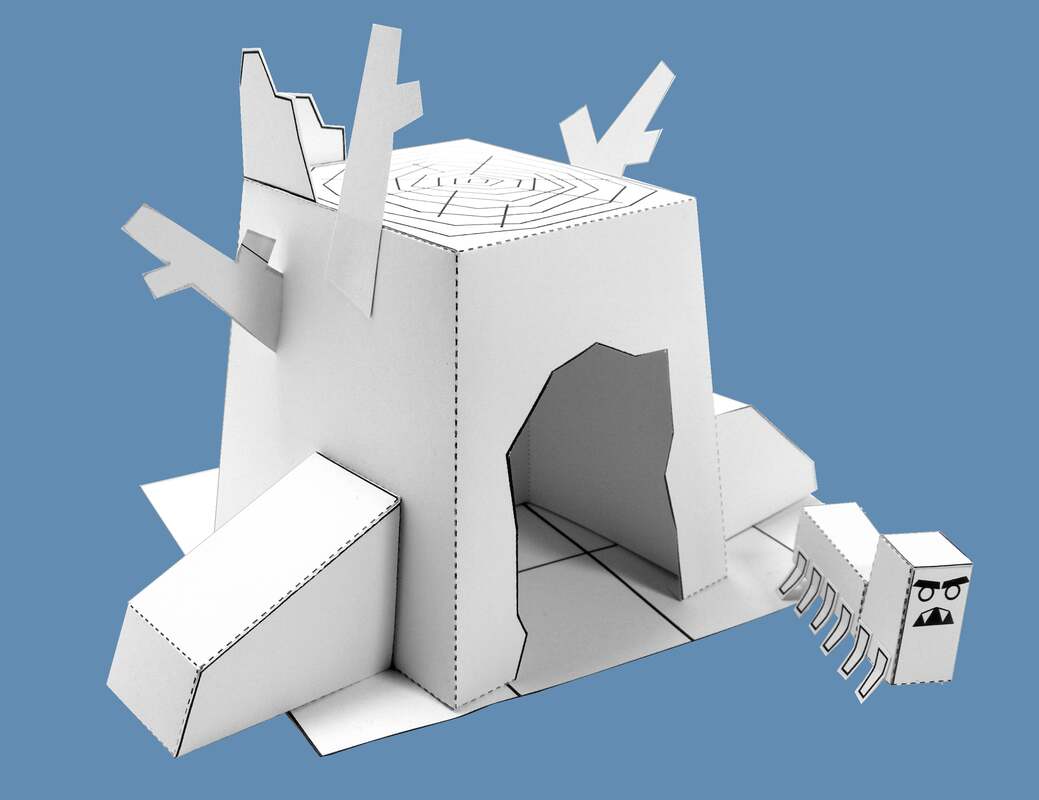
A house in the work, printed in black and white to test it before finalizing and adding the color and texture.
 |
| Adventures Fun Blog |
|
|
A house in the work, printed in black and white to test it before finalizing and adding the color and texture.
0 Comments
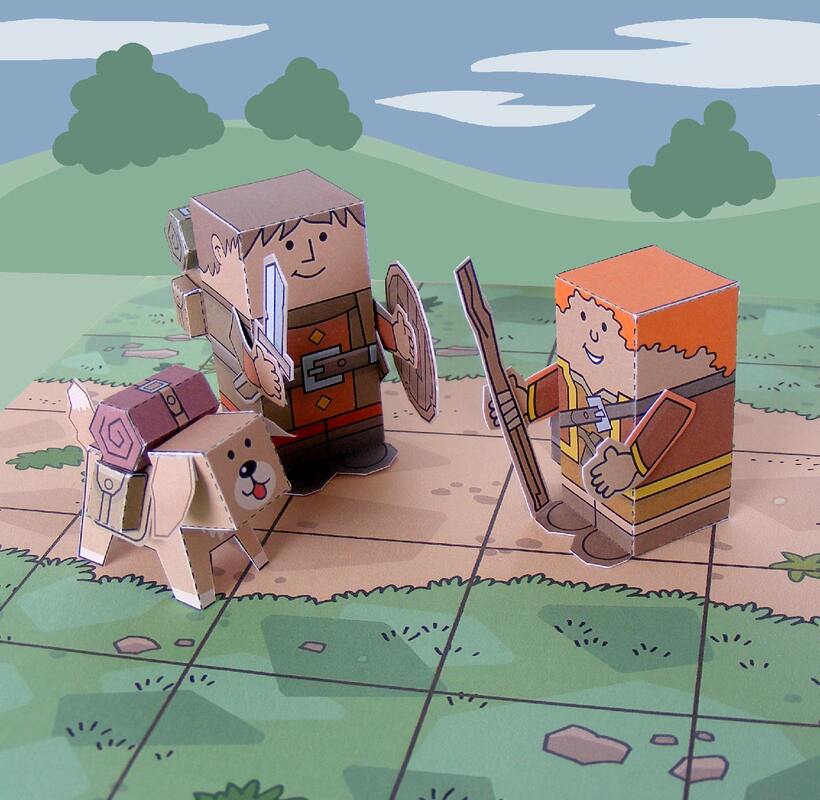
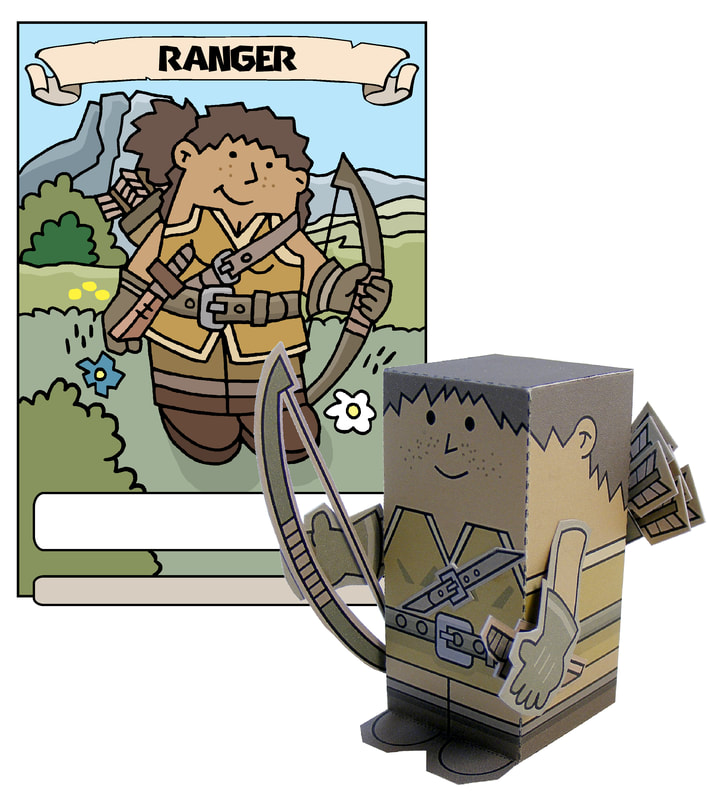
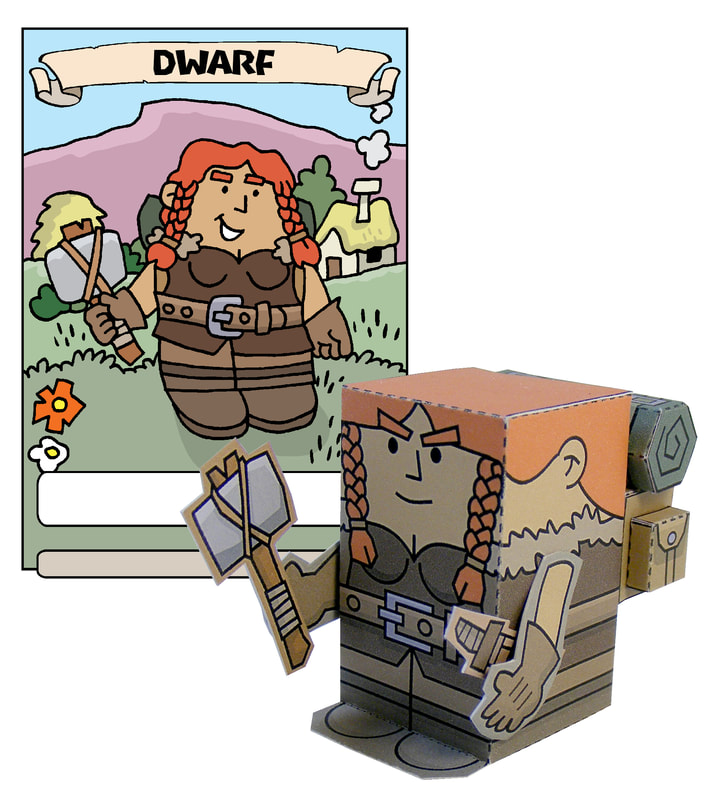
Here is a preview of the three heroes from the first adventurous scenario with the giant worms.
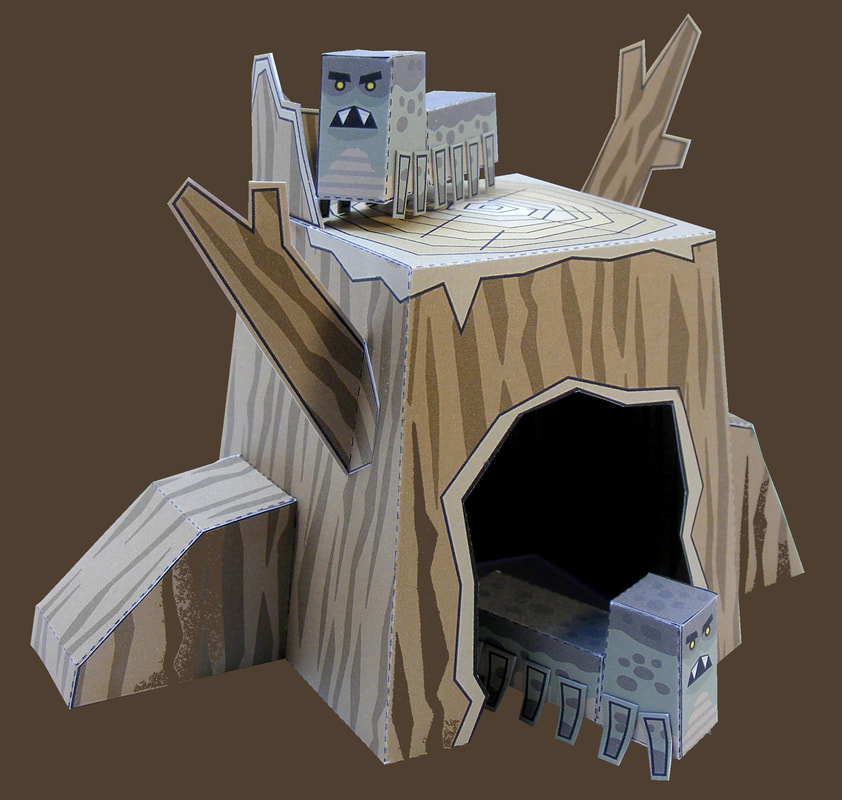
It has been a long time since my last post about the MiniWorld Role Playing Game, but I didn’t gave up on the idea. I’ve been working on several other projects; but in between projects, I have worked on this game. During this process, I have come to realize preparing the game was a bigger project than I had anticipated. I won’t go into the details, but what I discovered was there are many aspects to the game to figure out and to try out, as well as to change and to improve on in comparison with my other regular MiniWorld projects. I have been working on several different stories, and I’ve tested the game a few times. Even with these changes, I’ve been able to keep the game simple. However, even a simple version of this type of game is complex to create. The tedious part is to write the game rules, and that is what is taking me the longest time right now, but progress is being made. I am planning to get out a first simple story/scenario with basic game rules and some scenery and a few figures that can be assembled to play a first game; then next I’ll add other parts. The good news is that during the past months of working on the game, I have created more scenery, accessories, and figures. I’ve also created further story lines for adding to this first set. So the plan now is that I will try to post updated news and photos more often; and hopefully, it won’t be long before I have finalized the first set to try out. So here a sample test for the first story of the MiniWorld game: giant worm hiding in a stump.
These are sample cards and paper figurines for the role playing game I am working on
Finalizing the terrain tiles: I tried different options, tested the options, and finally settled on this idea. I’ve already created a series of terrain tiles for the different MiniWorld sets, so I used those with some adjustments and added a grid. I then created a frame for the purpose of placing nine tiles together to form the terrain for one scenario of the game. 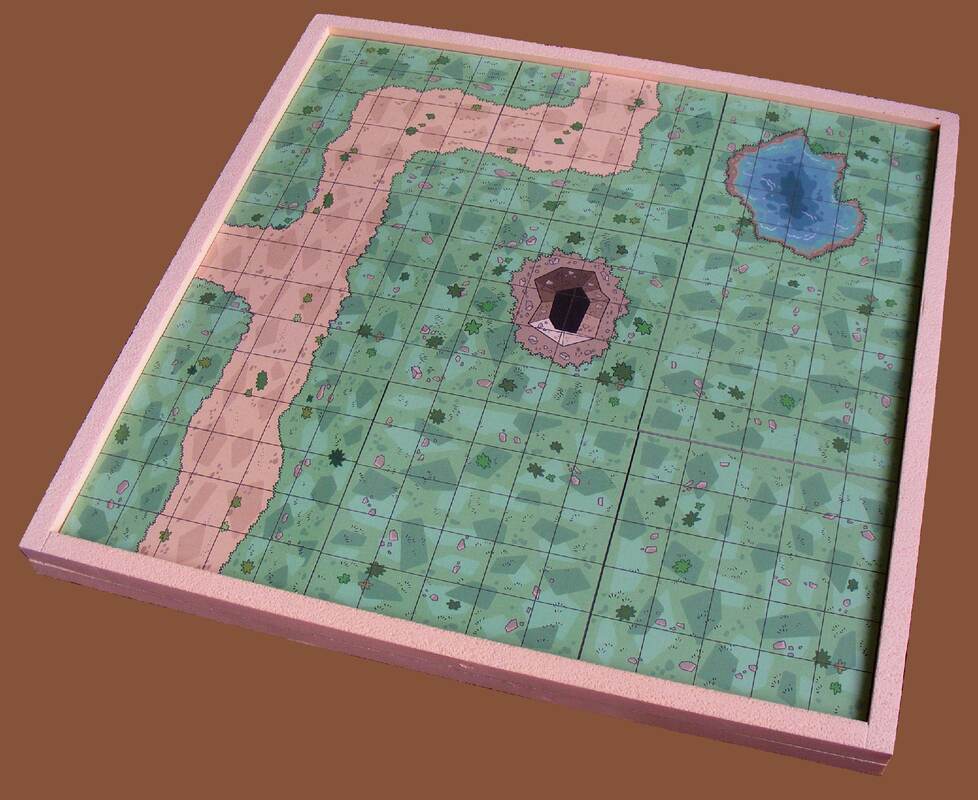 Each square terrain tile is 16.7 cm, which makes a square frame of about 60 cm for 9 tiles, a good size to fit on a table and to play. By changing the tiles around and using different tiles, it makes it easy to play different scenarios. A second frame can be made to expand the terrain if more room is needed to explore or set out larger scenery pieces. For this frame, I used a simple sheet of foam board insulation found in hardware stores for insulation of walls or ceilings. One big 2 cm thick sheet is quite inexpensive and perfect to build one frame – the frame itself and a piece of foam board added underneath for strength. 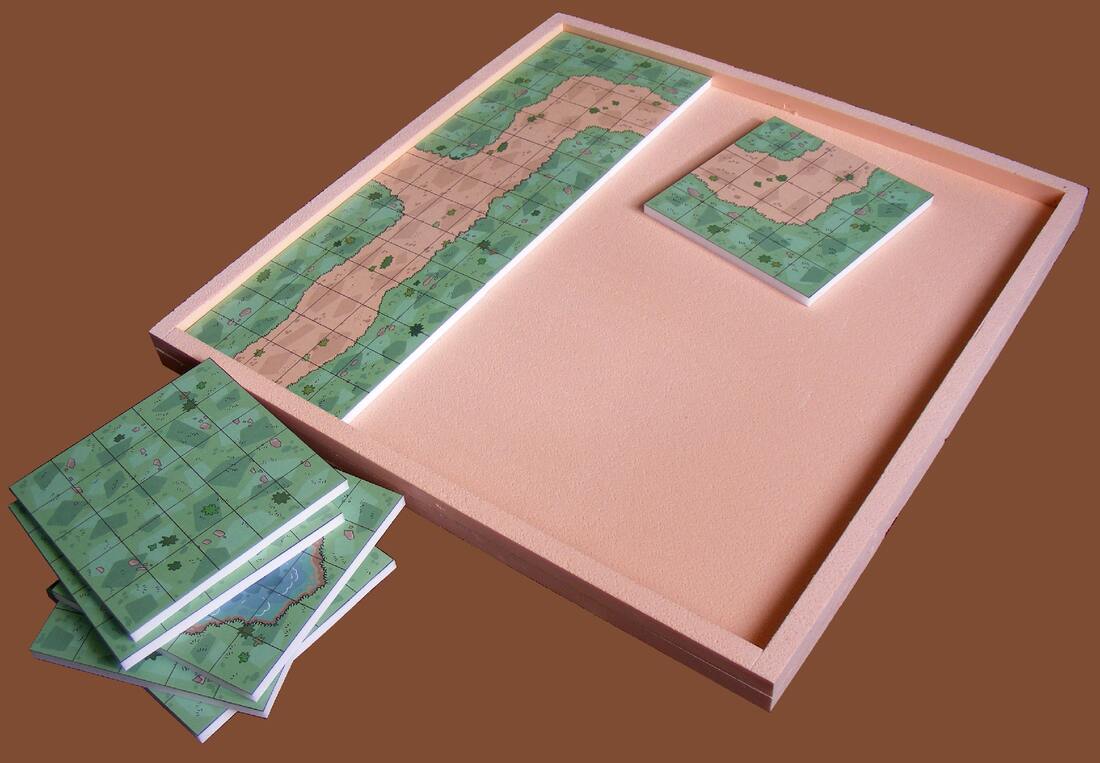 The frame can also be made with cardboard, wood, etc.; the main thing is to have something to hold the tiles together so they don’t move as you play.
A new set in my series of Medieval Play Set: Life of an artist in medieval time 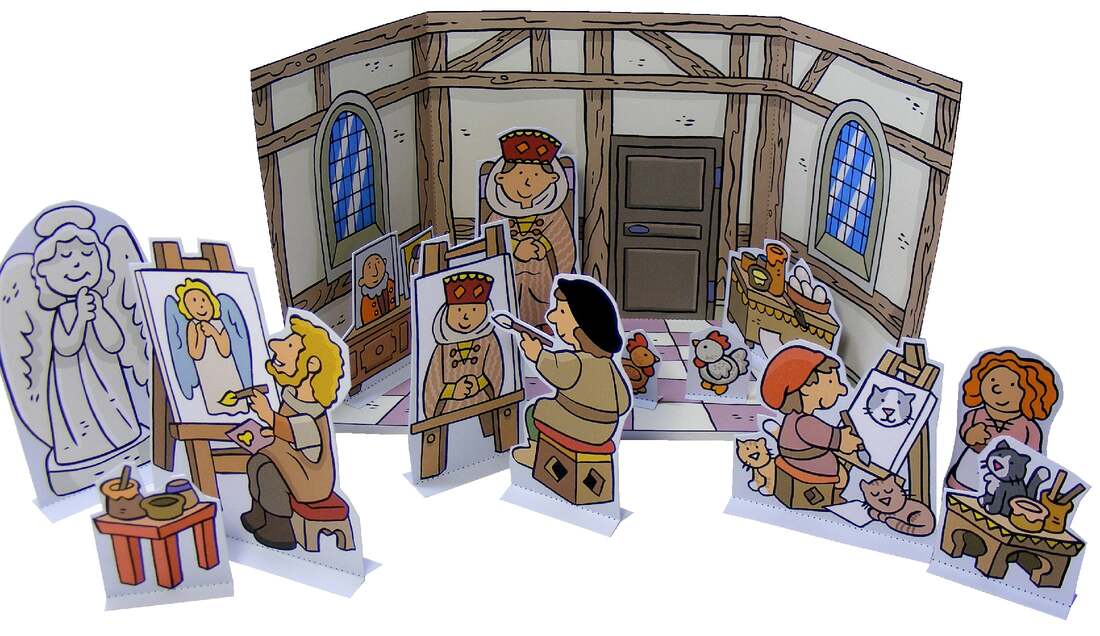 With this set, you can assemble two dioramas showing artists at work during medieval times. This set includes two dioramas backgrounds, nine persons, as well as many details to enhance your scenes such as the tools the artists used, tables with pots and brushes, scaffolding, and even a few chickens and cats. 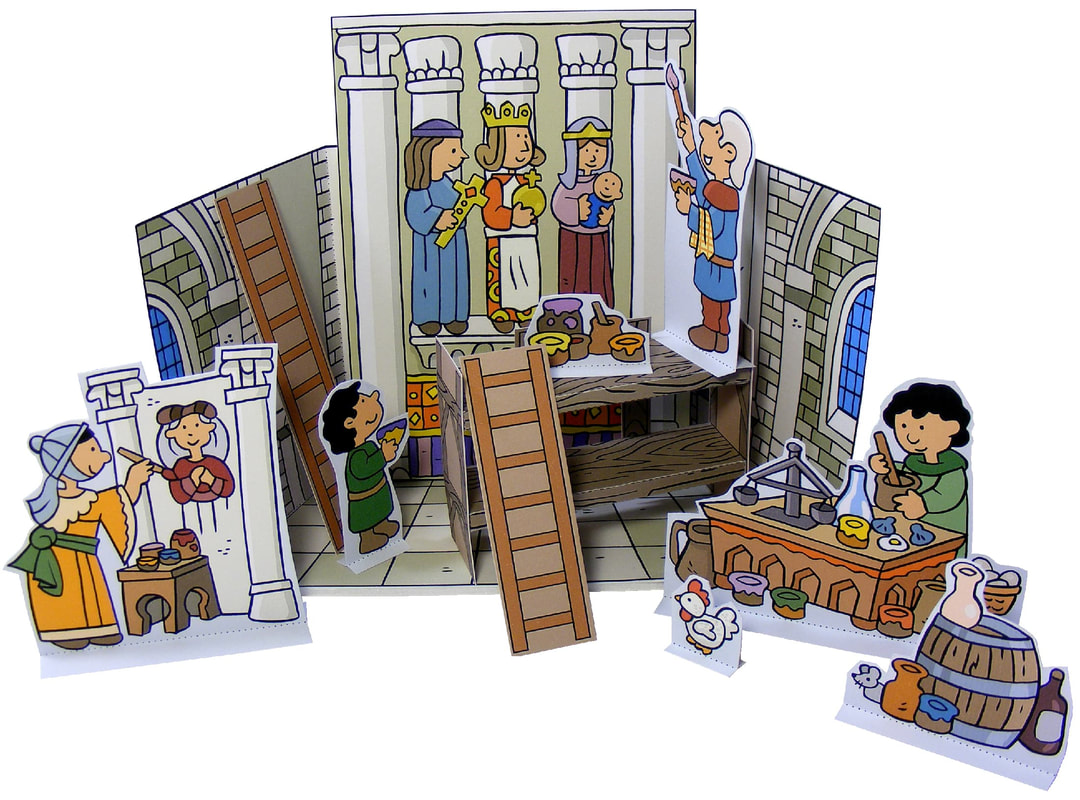 This set includes all the cut-out figures shown in the photo, both in color as well as a copy in black and white for the children to color. A fun project to build together as a family. With this set are detailed instructions on how to cut and assemble your play set. The figures are easy to cut and glue. All you will need are scissors and a glue stick. Print out the cut-out figures on card-stock paper or heavier paper, 160 gr (recommended). The figures of the people are about 5.5 centimeters high. What you will receive: 1 PDF of 21 pages with the instructions and all the pieces in color and black and white. You can use this set for a school project or to learn about medieval times. Visit my website for an additional study with photos of the job of an artist in medieval times: https://mylittlehouse2.weebly.com/the-artists.html 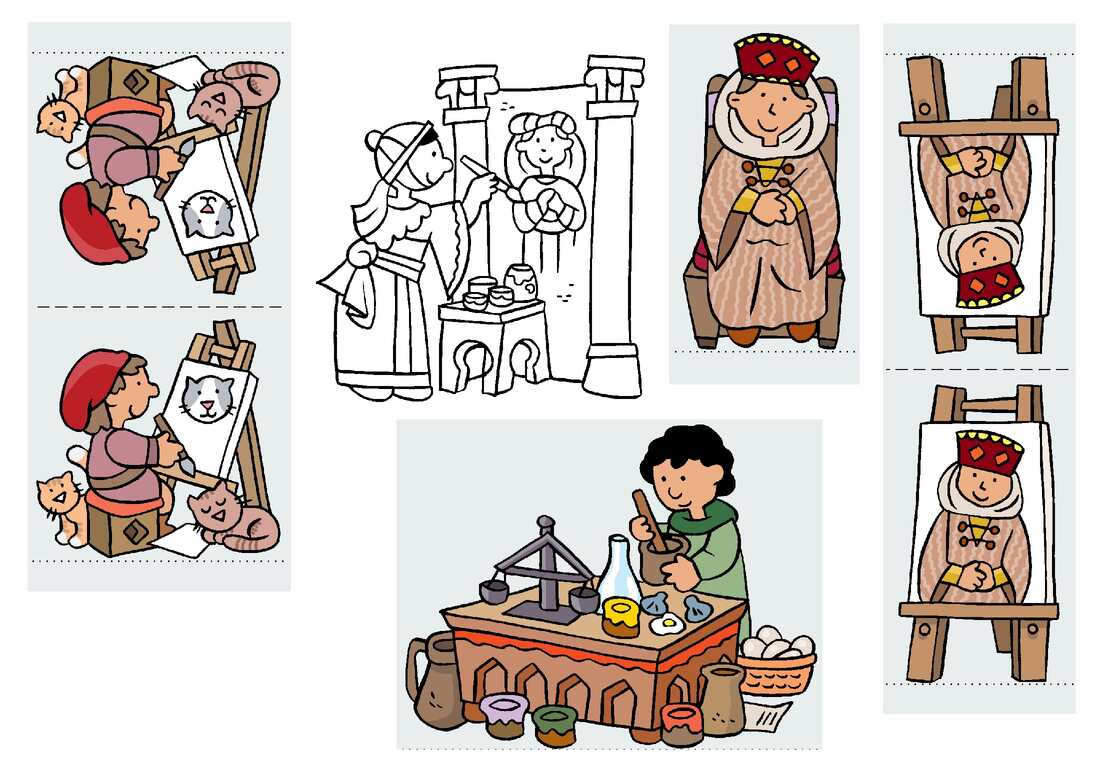 Making progress on the work; most parts (scenery, accessories, and figures) are created and tested. I am now working on the game itself and the many details such as the cards, the different events, etc. In the meantime here’s a little something you can print and assemble: A sample figure of a goblin. 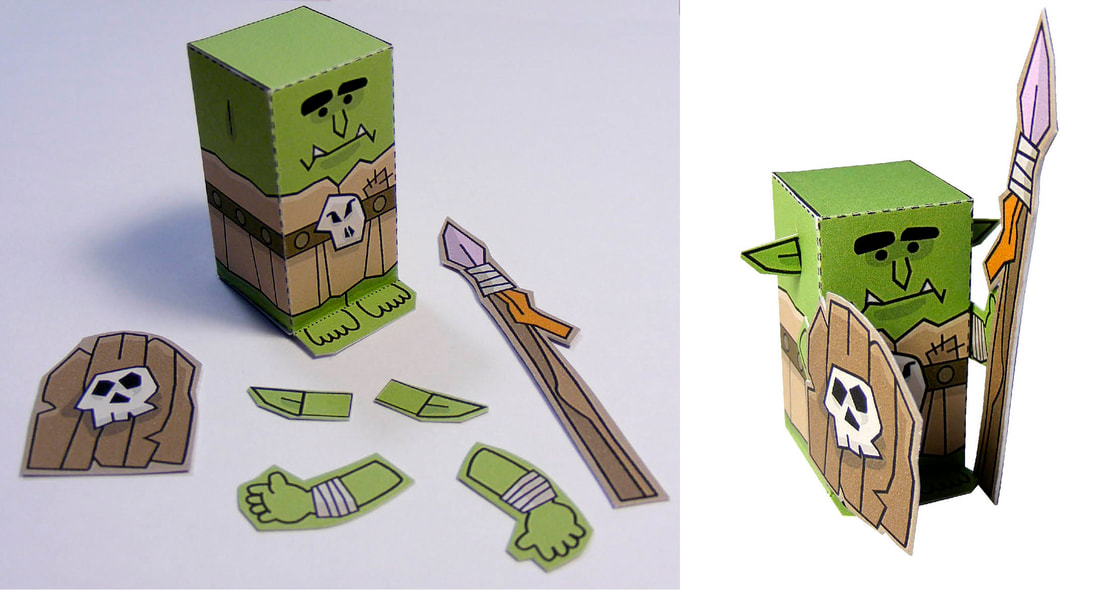
 It is for the normal size MiniWorld, though the goblins are smaller in size compared to the human figures, so they will match the other set pieces.
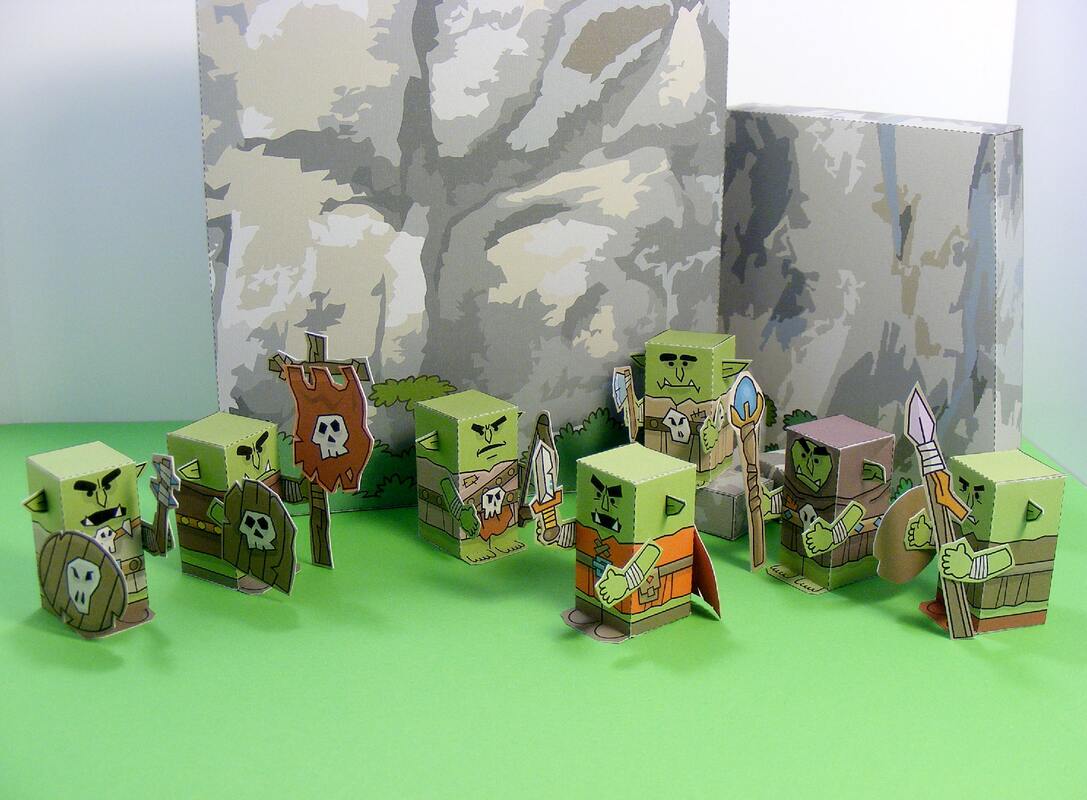
As you can see from this photo, there are already 8 different goblins, each with their different accessories and weapons. Hope you enjoy this sample! Don’t hesitate to comment on this new game idea. Up to now, I have created many MiniWorld sets: Bible sets, a castle, knights and Vikings figures, a dinosaur set, as well as sci-fi sets. So next I’ve wanted to add another dimension to the use of these different paper toys, which includes providing ideas for creating stories using these sets and the many sceneries and accessories already available so far. So based on the idea of role playing and board games, I’m now creating a small adventure scenario/story that parents, kids, and friends can play using the MiniWorld series. 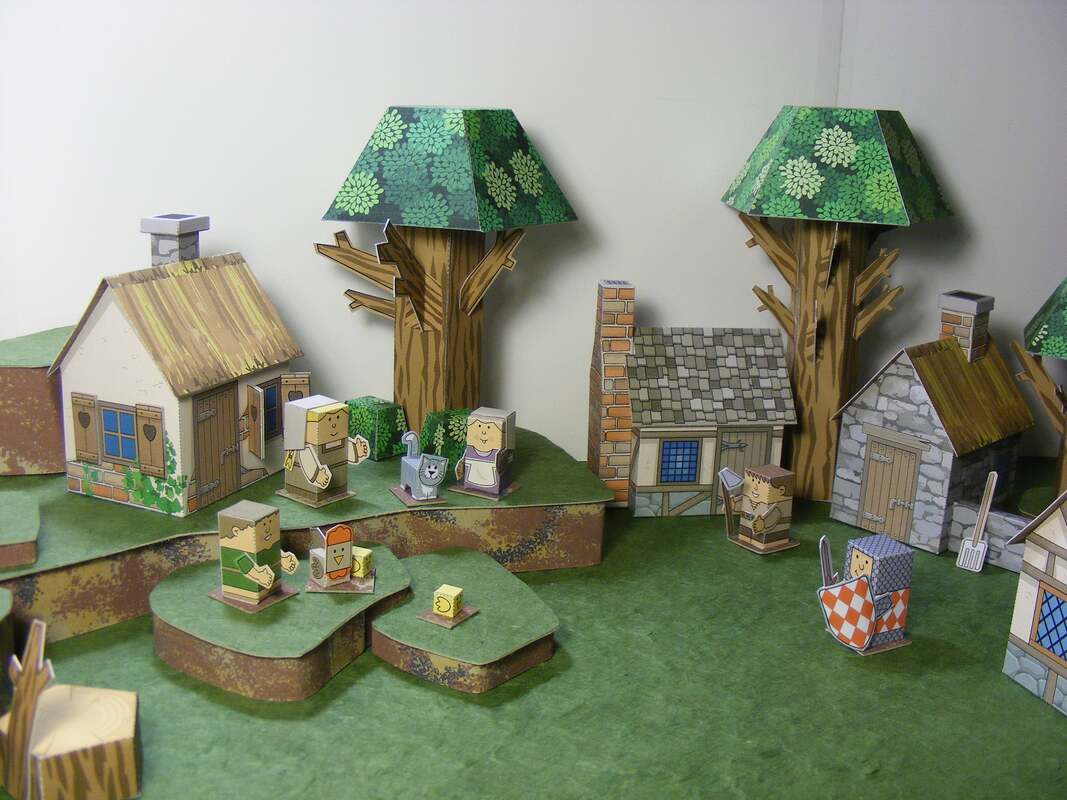 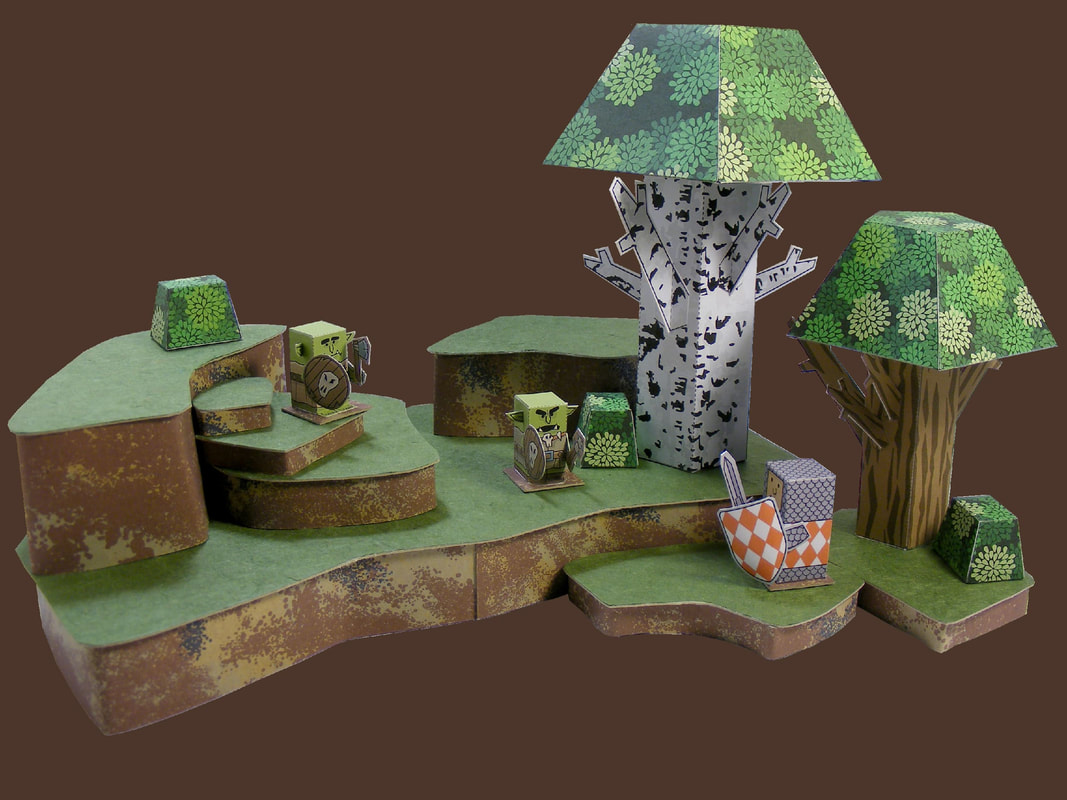 For the basic starter set, I have already a scenario/story and I am now creating the different parts: the terrain tiles, the figures, the accessories, and then afterward the rules on how to play the game. It will be for children, so the story and rules will be simple but intriguing, while at the same time leaving lots of room to add and improve the game as they like, encouraging them to use their imagination to take it further and create their own story. It takes time to create as I need to have a vision of all the parts needed and how they would fit in future stories, the idea being to add to this first basic set. It is a big project but I’m making progress, figuring out, testing several times to make sure it is working and easy to put together as this is something I always aim for when creating my MiniWorld paper toys--make them easy to assemble but still add lots of interesting details. So here are a few photos; these are not final yet. Once this first set is done, then it should be easier to add new scenarios and parts. 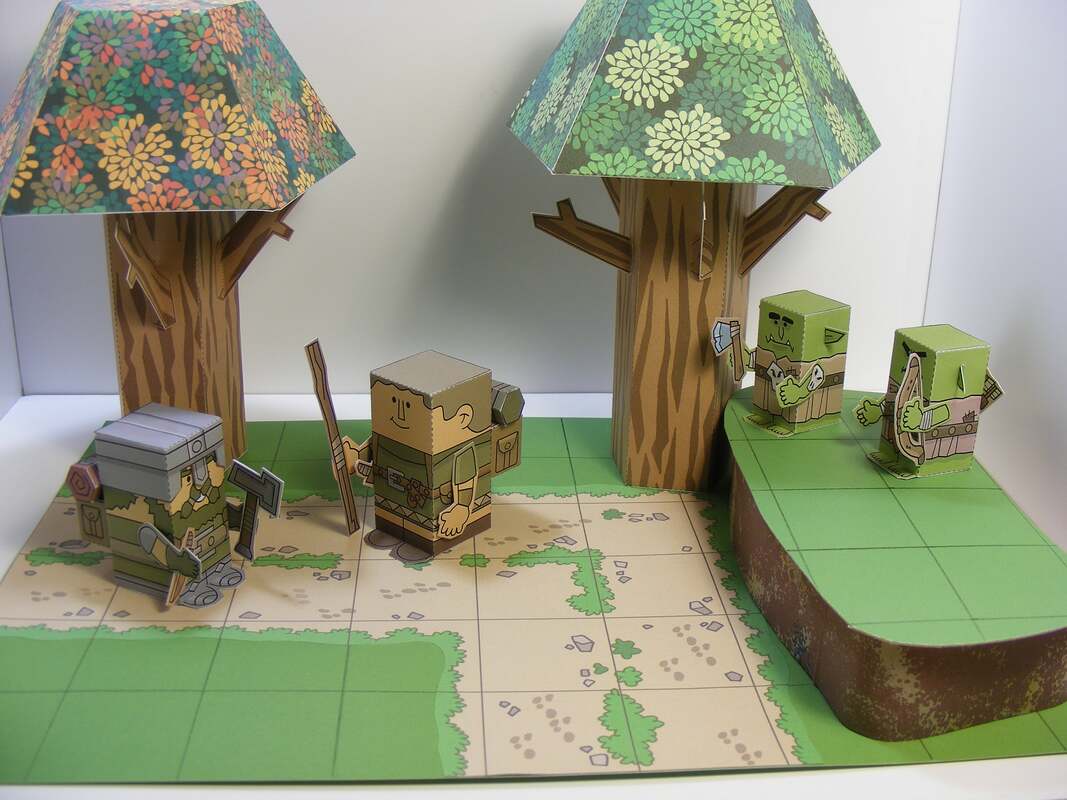 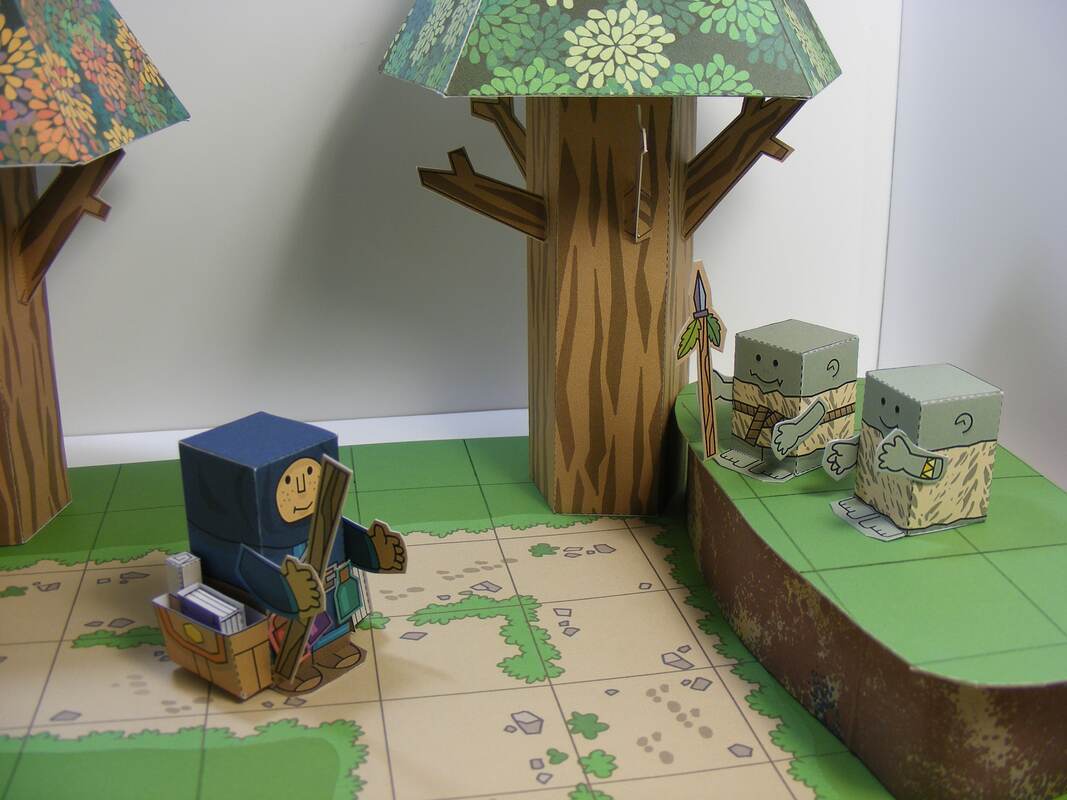 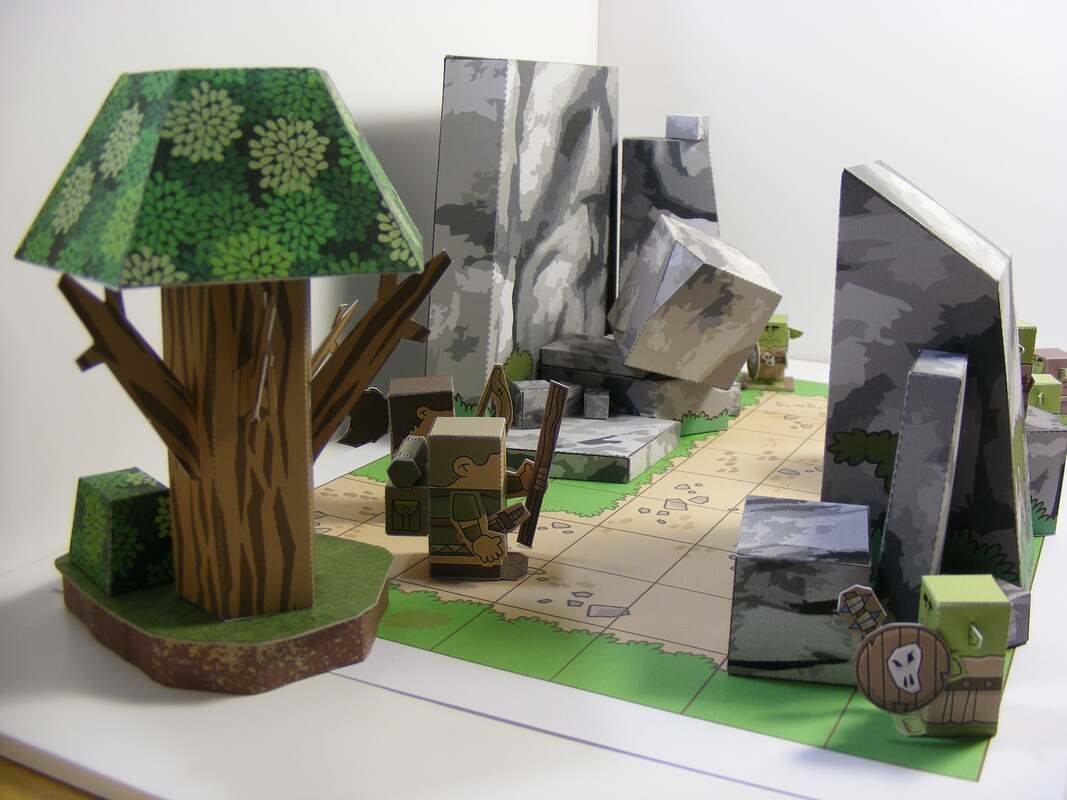 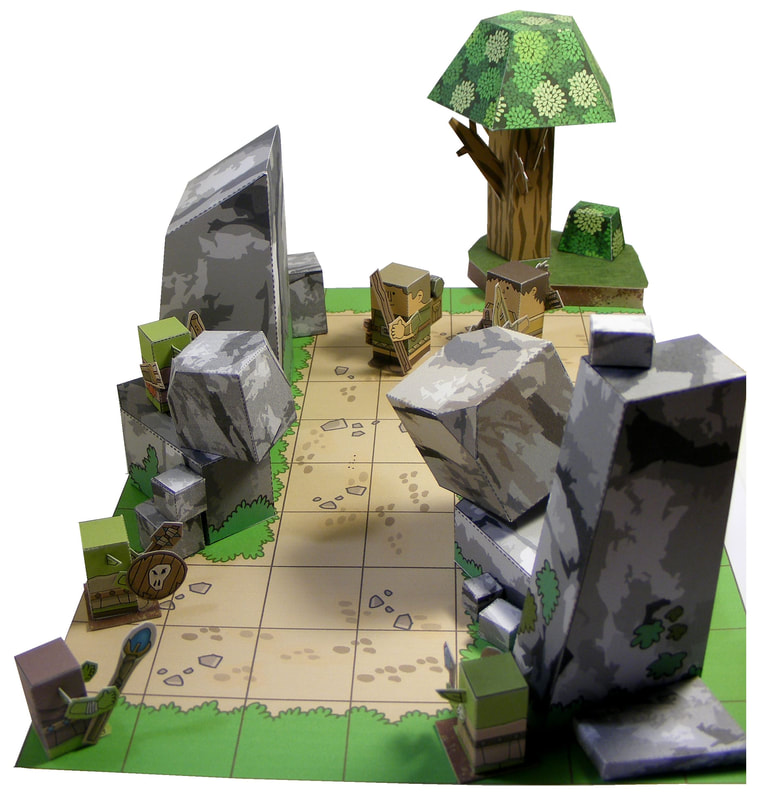 |
|||||||||||||||
 RSS Feed
